Assembly and Operating Instructions
Click on the product line below
Top Resource Center Categories
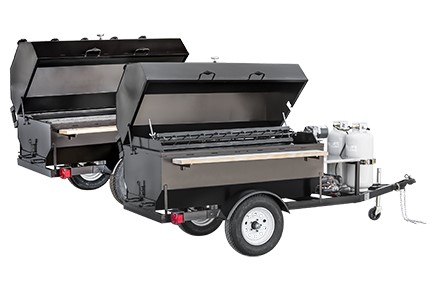
Tow Behind Built-to-Order Assembly & Operation
Lighting Instructions and Rotisserie Operation
Read More